

The Complete Chocolate Enrobing Guide
Chocolate enrobing is one of the most elegant techniques in confectionery. From glossy truffles and dipped biscuits to fully coated bars and pralines, enrobing elevates texture, appearance, and preservation. This complete guide walks you through everything you need to know to achieve professional results in Canada, whether at home or in a commercial kitchen.
1. What Is Chocolate Enrobing?
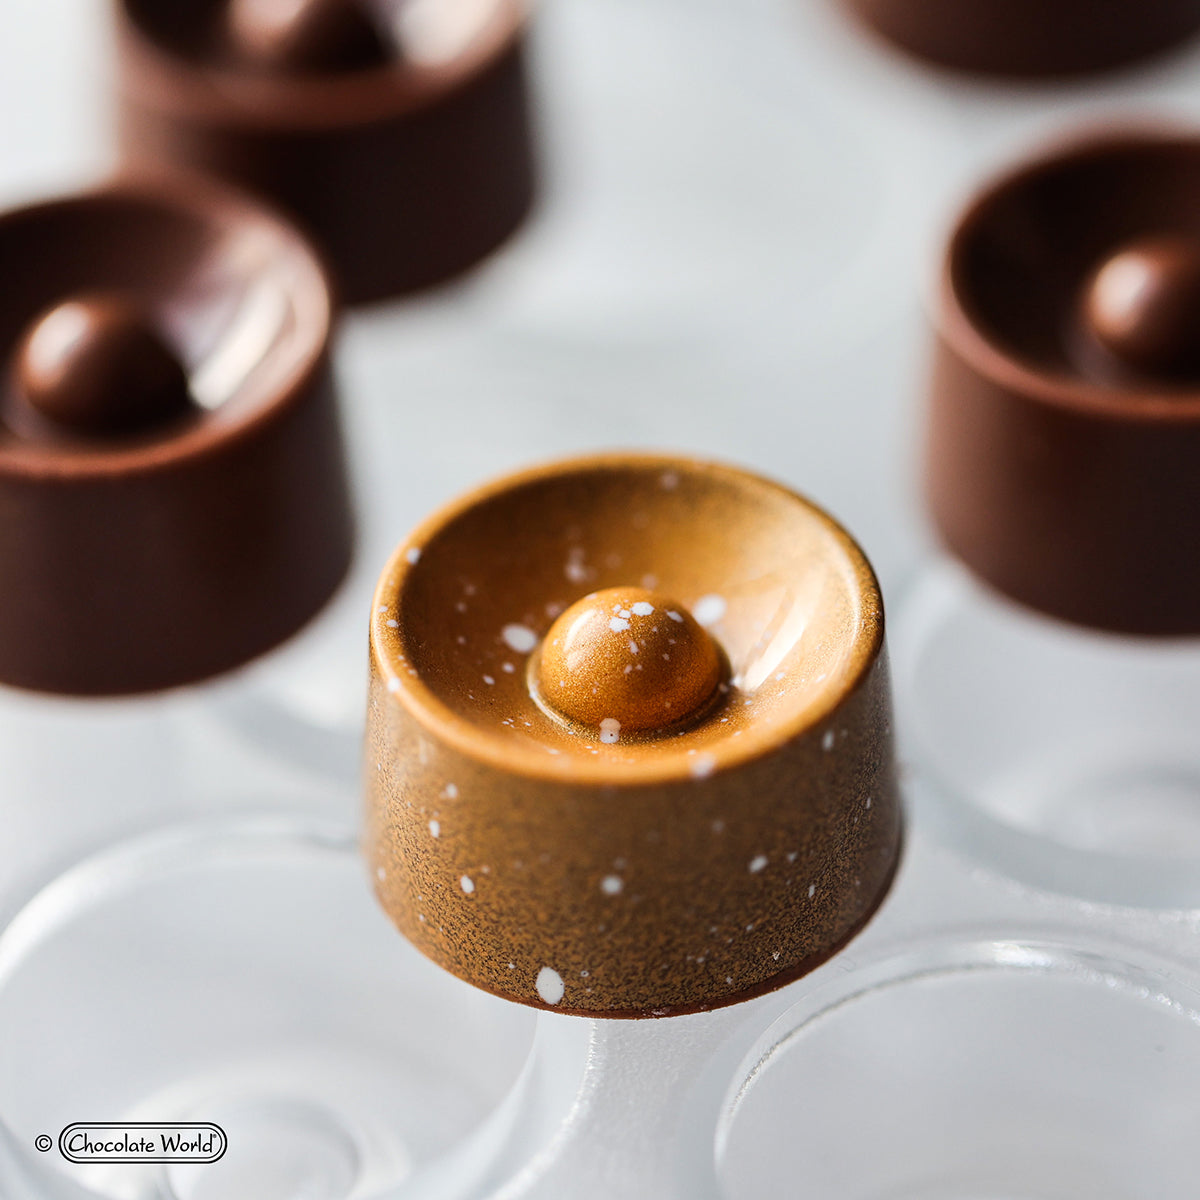
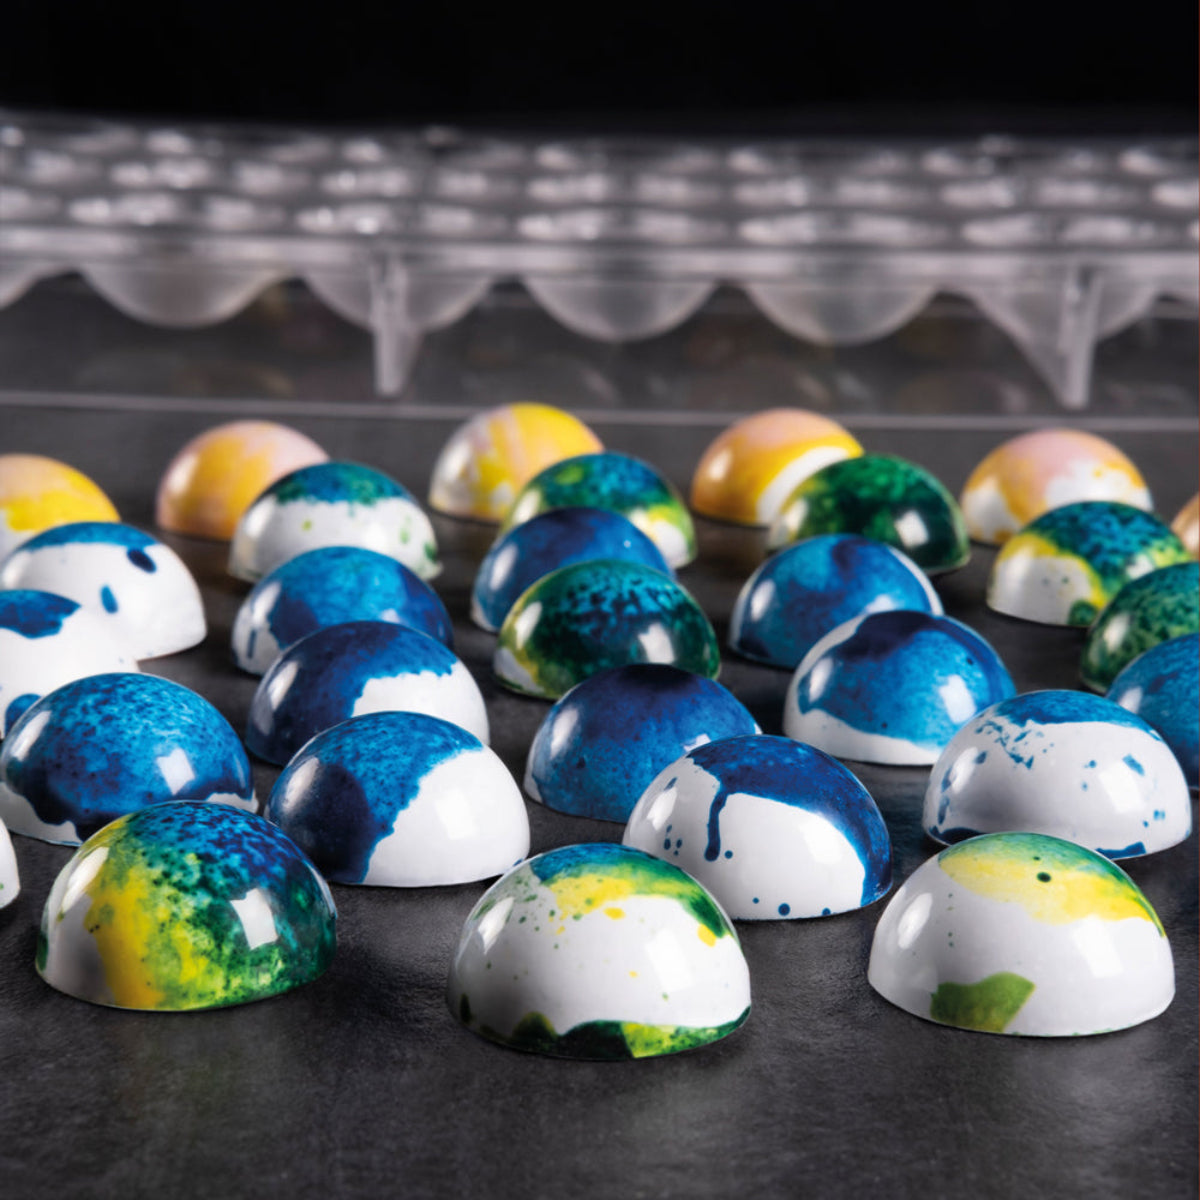
Enrobing is the process of coating a centre—such as ganache, nuts, biscuits, marshmallows, or fruit—with a thin, even layer of chocolate. This creates a beautiful glossy shell with a clean snap. Properly enrobed chocolates protect the filling, extend shelf life, and enhance flavor and texture.
2. The Importance of Couverture Chocolate
For enrobing, couverture chocolate is essential. It contains a higher percentage of cocoa butter, making it more fluid when melted and perfect for achieving a smooth, thin, even coating. Dark, milk, or white couverture can be used, but always ensure correct tempering to avoid dullness or blooming.
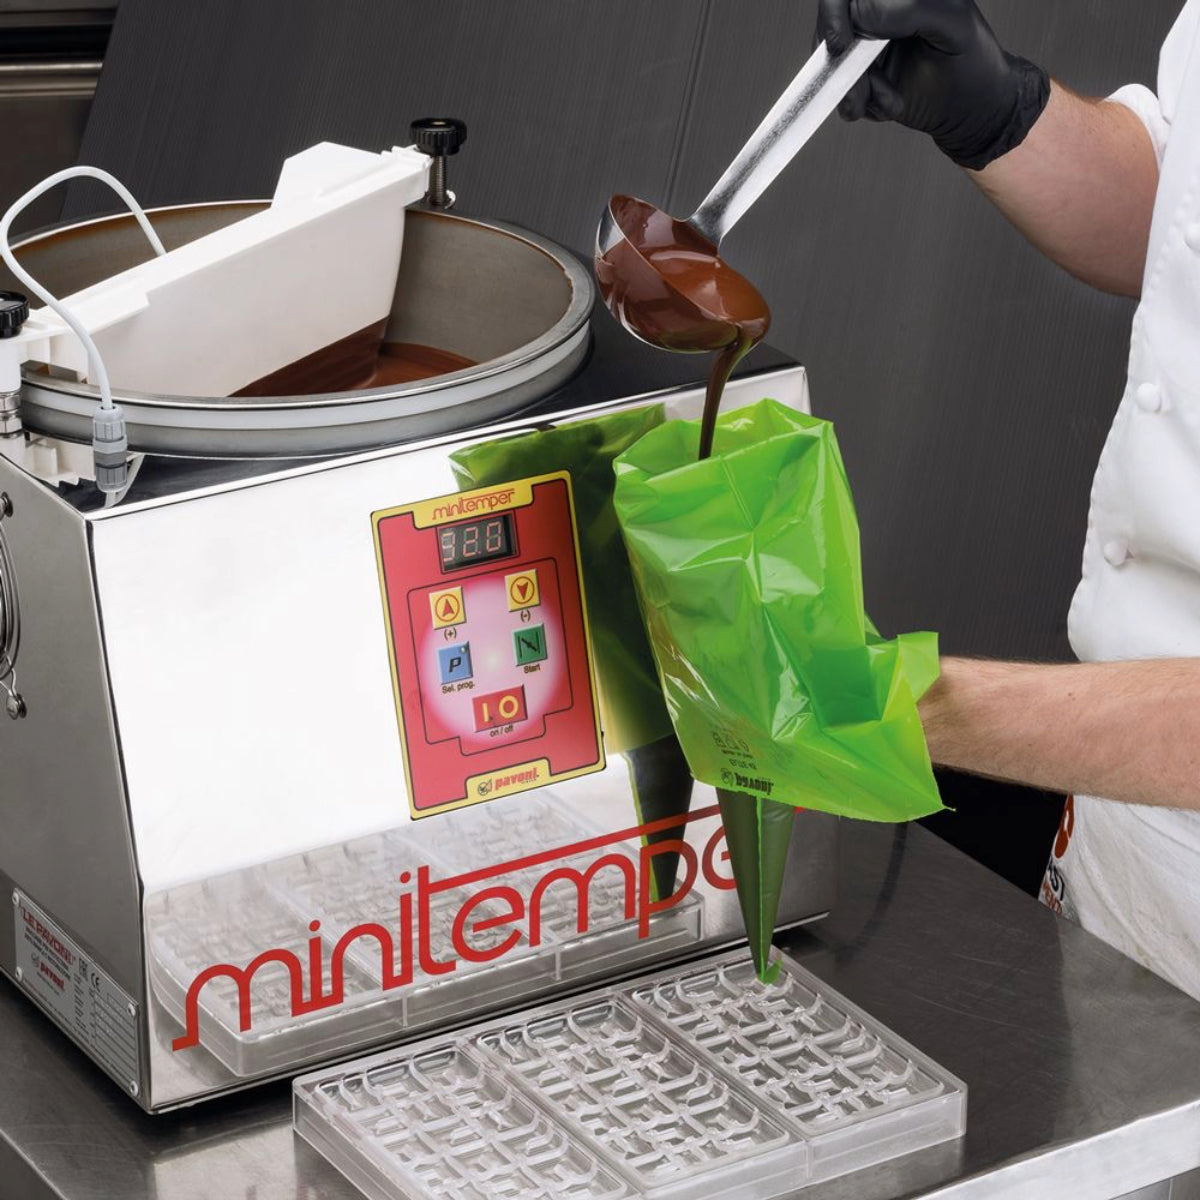
3. Tempering: The Foundation of Perfect Enrobing
Tempering aligns cocoa butter crystals, giving the finished chocolate its shine, firmness, and excellent snap. Without tempering, your coating will streak, melt easily, or bloom. Whether you use the tabling method, seeding, or a tempering machine, maintaining stable temperature curves is essential.
4. Hand Enrobing: The Artisan Method
Hand enrobing is ideal for small batches or artisanal work. You’ll need a dipping fork and properly tempered chocolate. Dip the centre, allow excess chocolate to drip, and place it on parchment to set. Hand enrobing gives a more handcrafted aesthetic and is perfect for high-end bonbons.
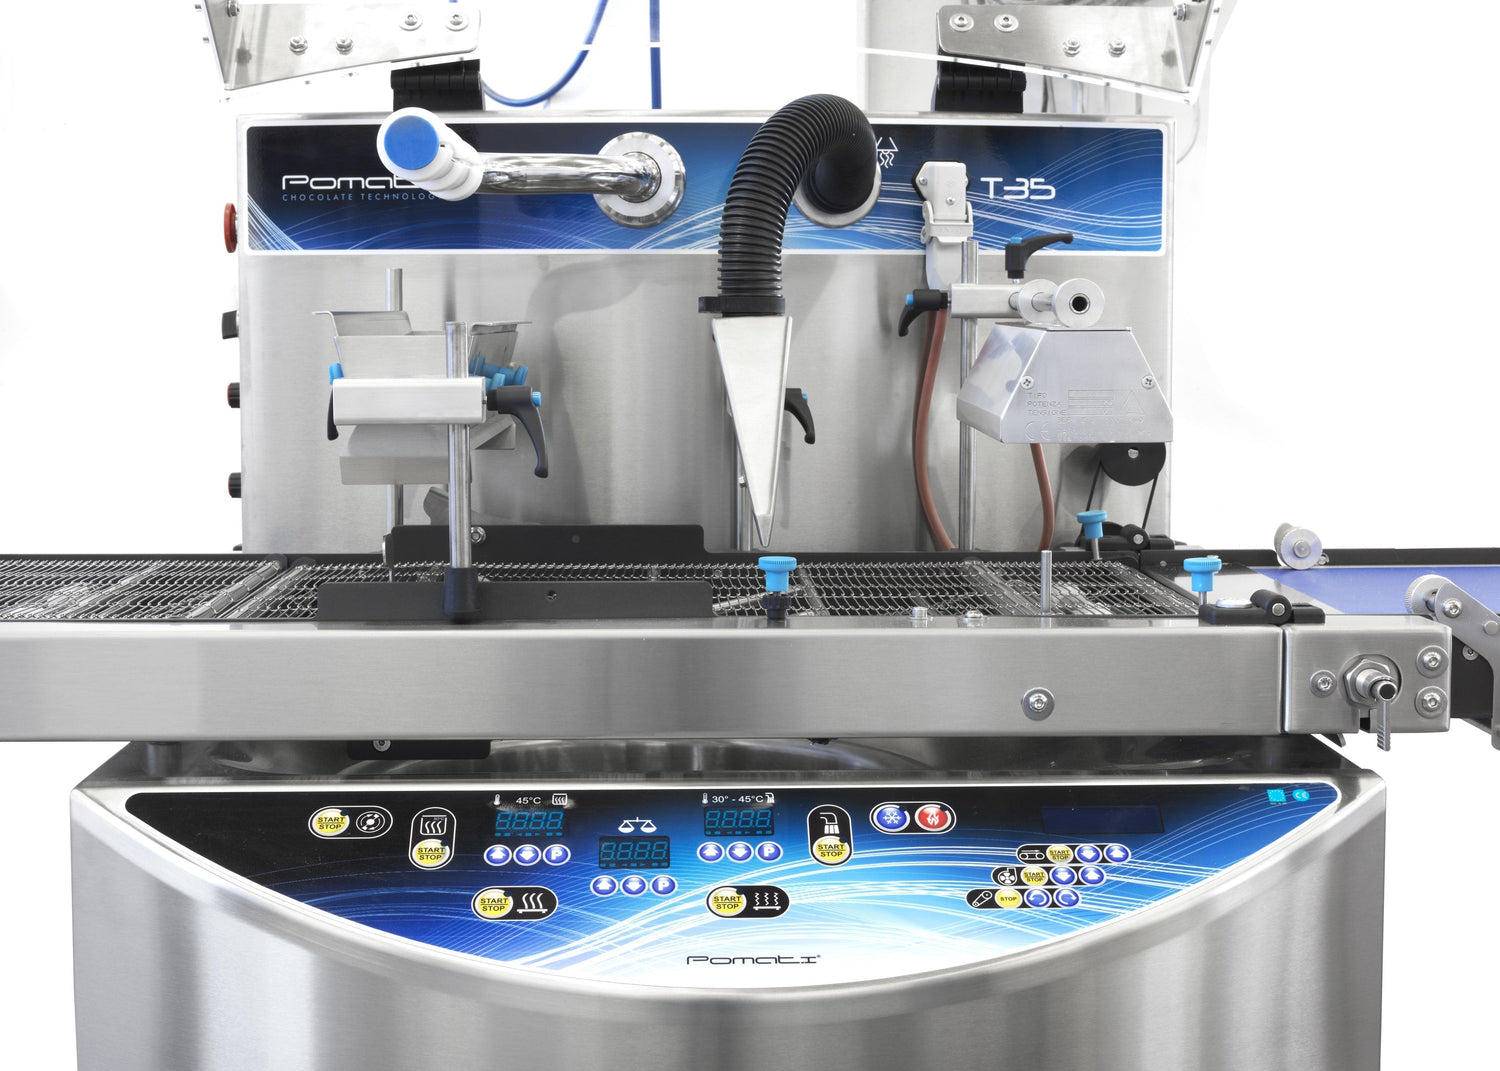
5. Machine Enrobing: Precision and Efficiency
For larger production, chocolate enrobers automate the process. A conveyor carries centres under a flowing curtain of chocolate, coats the bottom layer, and moves them into a cooling tunnel. This ensures consistency in thickness, shine, and professional finish—ideal for chocolatiers and bakeries.
6. The Step-by-Step Enrobing Workflow
- Prepare your centres: They must be firm, dry, and at room temperature. Excess moisture or cold fillings cause chocolate to seize or crack.
- Temper the chocolate: Follow proper temperature curves for dark, milk, or white chocolate.
- Dip or enrobe: Coat evenly and allow excess chocolate to drain.
- Set the chocolate: Let the chocolates set at room temperature before transferring to a cooler environment.
- Decorate: Add lines, transfers, nuts, cocoa butter colours, or textured finishes.
7. Common Enrobing Mistakes
- Chocolate out of temper → dull, streaky, or soft coating.
- Centres too cold → cracking or thick coating.
- Chocolate too thick → uneven surfaces or heavy shells.
- Cooling too fast → loss of shine or sugar bloom.
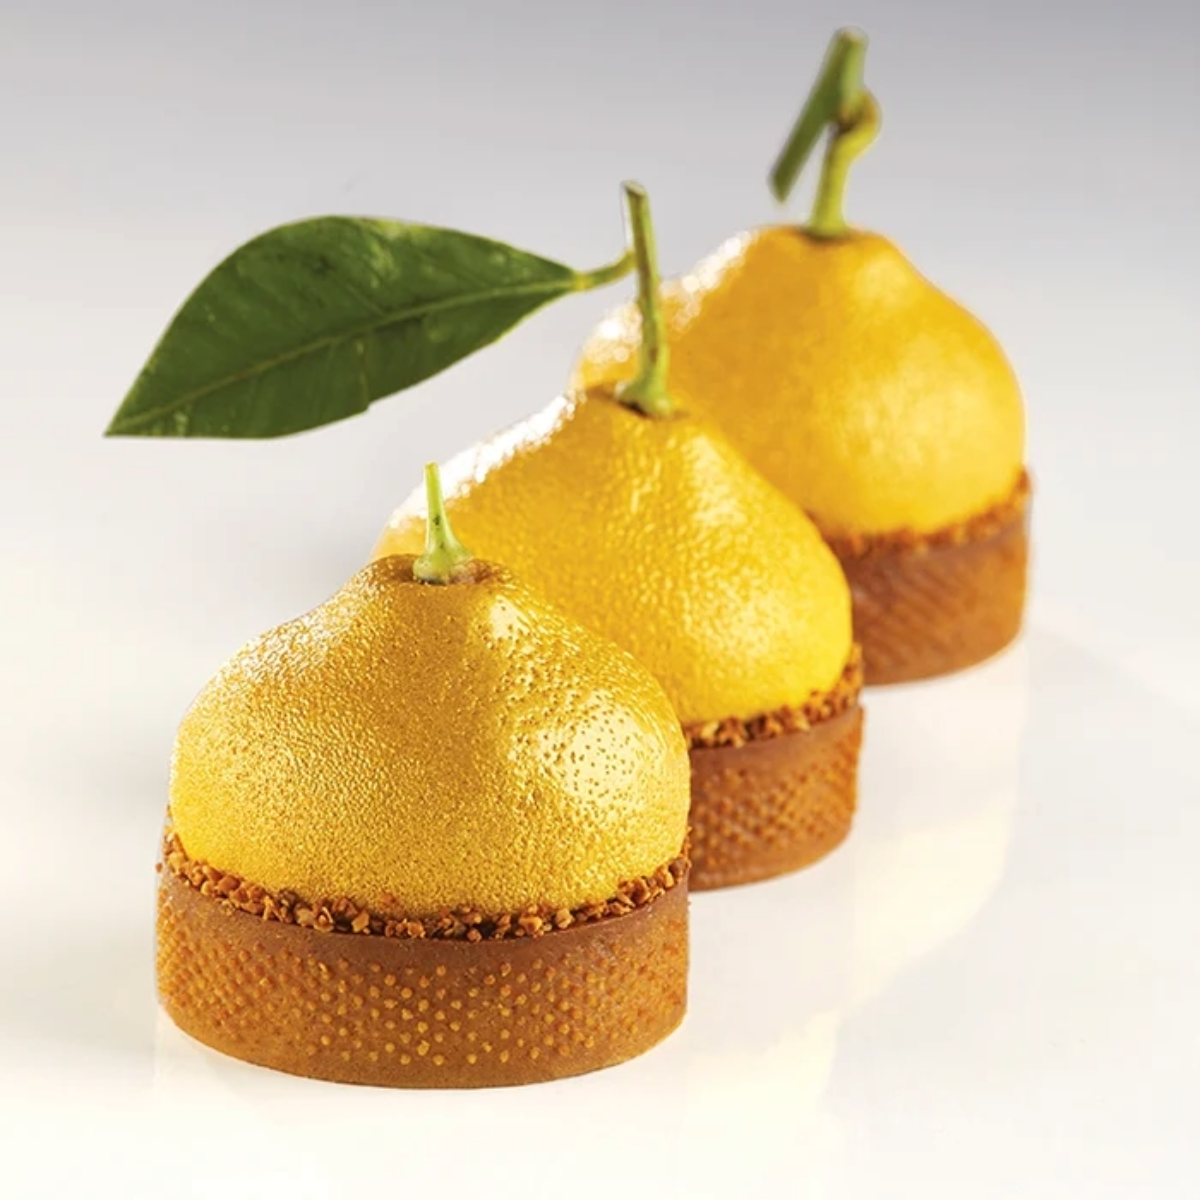
8. Best Uses for Enrobing
Enrobing isn’t just for bonbons. Popular applications include:
- Pralines and truffles
- Ganache slabs and bars
- Dried fruits and nuts
- Cookies, wafers, and biscuits
- Candied peels and marshmallows
- Nougat and caramel fillings
9. Why This Technique Matters in Canada
Canadian chocolatiers and home bakers are increasingly exploring premium chocolate work. Enrobing allows you to offer elevated textures, polished aesthetics, and longer shelf stability. Whether using a countertop tempering machine or a fully automated enrober, mastering enrobing is key to creating high-end confections.
Craft chocolate with precision and passion.


Leave a comment
All comments are moderated before being published.
This site is protected by hCaptcha and the hCaptcha Privacy Policy and Terms of Service apply.